Xorg, Nvidia and Custom Resolutions / Modes in 2020
05 July 2020
I have a now fairly old BenQ XL2420Z gaming monitor. It is a 144Hz refresh rate model and has strobing backlight functionality for motion blur reduction. However, I run it at 120Hz using some custom timings, because this reduces visual artifacting with the strobing backlight and makes the display brighter when the strobing is enabled. BlurBusters calls this the “1350 Vertical Total trick”, or something along those lines. The why and how of it is beyond me.
I had some issues setting this custom resolution up under Linux using Xorg and the proprietary Nvidia drivers. Someone at the BlurBusters forums created a guide which was helpful, but was missing some key details that were necessary to get this to work on my machine.
The configuration
Here’s the configuration for the impatient. If you have the exact same display I do, this may work for you. However, you may want to read on to see how this configuration came to be.
Save this into /etc/X11/xorg.conf.d/ with some descriptive filename. If you are unfamiliar with conf.d style configs, these loose files are read after the main Xorg.conf (which on modern systems often doesn’t even exist anymore) and any changes in them are applied in alphabetical order. In my case, this file is /etc/X11/xorg.conf.d/20-xl2420z-customres.conf.
Section "Monitor"
    Identifier     "xl2420z" #This identifier can be anything; it's just the name of this config block.
    #The next line defines the custom resolution.
    #The exact meaning of the magic numbers here is beyond the scope of this blog post.
    ModeLine       "1920x1080_120_vt1350" 336.96 1920 1968 2000 2080 1080 1083 1088 1350 +hsync -vsync
EndSection

Section "Screen"
    Identifier     "Screen0"
    #The next line disables some safety checks imposed by the Nvidia driver
    #It uses the display's EDID so that they are only disabled for the XL2420Z and
    #not any other displays.
    #Without this line the custom resolution will be rejected as unsafe.
    Option         "ModeValidation" "DPY-EDID-edbe03be-f4a0-3a94-b9e8-00884a48f8f4: AllowNonEdidModes,NoMaxPClkCheck,NoEdidMaxPClkCheck,NoHorizSyncCheck"
    Monitor        "xl2420z" #This is important so that the monitor block above is actually used!
EndSection
Applying the configuration
Once you’ve saved the config to a valid path, reboot your computer (or restart X, but it’s safer and easier to reboot).
After the reboot, use the nvidia-settings GUI to enable the custom resolution. Select “X Server Display Configuration” from the list on the left, then select your monitor, switch to Advanced mode on the bottom right, and then set the correct resolution. It will unhelpfully be categorized by the refresh rate, so you might be in a situation where the right resolution is 1920x1080 120 Hz (1) or something. Just select the correct dimensions, and then scroll through the refresh rate selection until you see the correct Mode Name; that’s the resolution you want.

Once you’ve got the right resolution, click on Apply and then exit out of the GUI. The resolution should now be applied, and the drivers will load it automatically every boot, and you should be done! If not, read the debugging section below.
I’ve also seen the custom resolution defined in the config file directly using the MetaModes option, but I couldn’t get that to work either. Your mileage may vary.
How the configuration came to be
There are two key bits in this config that you may have to customize for your setup.
The first is the ModeLine, which is the set of magic numbers that defines our custom resolution. The ModeLine here is from the BlurBusters forum guide linked above and matches the timings I successfully used on Windows for many years on this monitor.
If you have to create your own ModeLine, this calculator may come in handy to calculate the various timings. I’m woefully clueless about the meaning of these values, but the calculator should help you if you’re just trying to recreate the settings given in some Windows-oriented guide.
Note that Windows-oriented guides often omit the Back Porch values. This is because those values can be inferred from the other values, and Windows tools like the Nvidia Control Panel and ToastyX Custom Resolution Utility do so. The back porch values are simply what’s left over after you subtract all the other values from the Horizontal or Vertical Total values. For instance for a Vertical Total of 1350, subtract the Resolution (1080), Front Porch (3) and Sync Pulse (5) values and you’re left with 262; that is the Back Porch value.
The second is the EDID used in the ModeValidation option. This is a unique ID for a specific monitor model (or maybe even a specific monitor; I don’t know). There are more generic identifiers available, but using this one ensures that the option is never applied to the wrong monitor.
The Nvidia drivers come with a tool called nvidia-settings which you can use to discover these identifiers. Use nvidia-settings -q dpys to list all the display devices on your system, and then look for the right monitor:
$ nvidia-settings -q dpys

9 Display Devices on kotenbu:0
[...]
    [7] kotenbu:0[dpy:7] (DP-4) (connected, enabled)

      Has the following names:
        DFP
        DFP-6
        DPY-EDID-edbe03be-f4a0-3a94-b9e8-00884a48f8f4
        DPY-7
        DP-4
        Connector-2
[...]
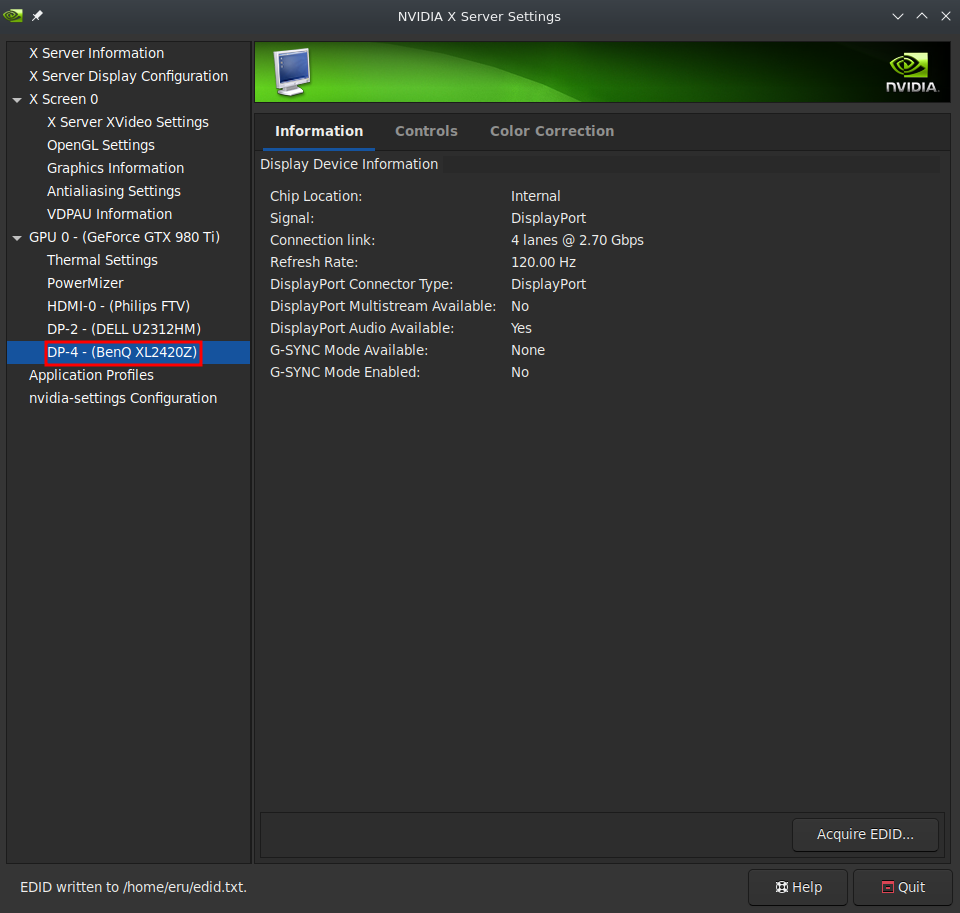
If you have a lot of monitors and aren’t quite sure which one is which, you can use either xrandr or the nvidia-settings GUI (just run nvidia-settings with no parameters) to find the short identifier of the display, which you can then match to the long EDID identifier in the output above:
Once you have the EDID, you can use that in the config.
Debugging
This can get frustrating if (or when) things go wrong. I had trouble getting Xorg to
actually load the config and the custom mode.
Increasing the Xorg logging verbosity can help here; this is done using the parameter -logverbose 6. 6 is the minimum level to display information on ModeLines and why they may or may not be loaded.
In my case the entire Monitor section was being ignored. The key to overcoming this was adding the Monitor "xl2420z" line into the Screen section. Another possible option is to use this feature, which should enable the Monitor section for only a specific device, but I couldn’t get this to work personally (quoting from man xorg.conf):
Option “Monitor-outputname” “monitorsection”
(for example, Option “Monitor-VGA” “VGA monitor” for a VGA output)
In the absence of specific association of monitor sections to outputs, if a monitor section is present the server will associate it with an output to preserve compatibility for previous single-head configurations.
Specifying video modes is optional because the server will use the DDC or other information provided by the monitor to automatically configure the list of modes available. When modes are specified explicitly in the Monitor section (with the Mode, ModeLine, or UseModes keywords), built-in modes with the same names are not included. Built-in modes with different names are, however, still implicitly included, when they meet the requirements of the monitor.
Good luck.